Having nice underwear makes any woman feel pretty, having underwear that is actually comfortable as well is a blessing and most times extremely expensive once you get into 5x and up. If you look at online shops they average around $14.00 and up, mainly the "and up". My sister and I prefer the high leg cut because nothing makes your day like sitting down and having the circulation in your leg cut off. My sister wanted a higher cut then what she could normally find, then found what she was looking for in the Japanese style loincloth or fundoshi.
Though in this case we wanted elastic not tying. With nothing on the side there would be no binding which would allow for a smoother line and more comfort. So time to experiment. It needed stretch so we found some pretty material at the fabric story. The width of the material depends on you but really 1/2 yard is more then enough and allows for the hemming on the sides. You can make wider if you want whatever is most comfortable for you.
To get the measurement you need one other person besides you. You need four measurements.
This is where it's best to have someone or two someones if you can help you get the correct measurements. The model needs to be wearing tight pants or leggings or if they are family then good fitting underwear. Hold the material in front of you with both hands then have the other person pull it between your legs and back up towards your waist. Do not pull too much but do make sure that there is some stretch to it. Mark the material with a safety pin. This will be the working length of the underwear. If there not another person then pin the material to the persons clothing this is where tight pants work best because they will hold the pin.
A = the waist measurement make sure the tape measurement is snug but not tight.
B= with a safety pin mark the front where the gathers begin just above the pubic bone
C= with a safety pin mark the back where the gathers begin just above where the thigh hits the butt cheek
Now lay the material down and get your measurements. In this case the waist was 84"
The overall length was 43" and width was of course 18" and that is the first rectangle. Figuring that 84"-18"-18" = 48/2=24 that gives you the remaining side. Since the material needs to stretch reduce that by 1/3 and you need side pieces of 16" by 3".
Now for the crotch insert I prefer cotton because it breathes. The bigger you are the more you sweat, that is a fact of life, so while you can get by with polyester I believe that the cotton is better. If you measure from front gather to back gather that tells you how long a piece you need. a quick measurement will give you the width from the center of the crotch and the width from the ends comes from point B measured across the gather.
*****************************************************************************
{This is semi related, while I love the cloth tape measure I also use a Stanley tape measure. It is like having a third hand since it can be extended and locked perfect for large pieces of material. For me especially, I have health issues that prevent bending or crouching and sometimes trying to get a measurement meant I needed to talk someone else through it which is difficult or do it myself then pay later for bending and twisting. For getting inseams and in this case the width for the center of the crotch area I can extend the tape and bend to fit. This works really well when needing to take measurements of a stranger.}

*********************************************************************************
Cut out and pin to the cotton. you will need two layers. This is so you can have clean edges and a stable strong insert. You can of course get by with only one layer I just think two is better.
Sew the edges except for a two inch opening in order to turn the piece inside out. When finished you should have something like this.
Fold in the long edges of the rectangle and sew with a zigzag or multi-stitch zigzag. Then with the larger rectangle folded iron the edge to form a crease same with the insert. Then unfold and center one on the other.
Mark the edges then move the mark in 1/2" and draw a chalk line, when finished you should have the center fold and two chalk lines.
Either by hand, which I prefer or by machine do a running stitch in order to gather the material.
You will start with the center gather pull it in tight then place the insert over and move the edges to match. The walking foot really helps here and keeps the gather nice and tight.
Now I know what you are thinking why didn't I cut back the center instead of gathering the material; wouldn't it be bulky, won't it show? My sister says she cannot feel any bulkiness, It does not show up under your clothes unless you are wearing something skintight and in that case they are way to close to be looking or you have other things on your mind and should be wearing something lacy anyway. {Sorry my pain medicines are making me loopy although trying this with stretch lace may be an option hmmmm.} I have tried to cut out the middle but the problem lies with the angle of the pull of the material and when you do that the sides do not pull flat instead depending on your shape they will become floppy. Remember there are no sides the materials pull is the only thing keeping it in place.
Now you will do the same thing for the ends.
The finished piece should look like the picture below and there is a solid reason for this.
Remember it will be stretching a little when it does this will ease some of the bulk making it less.
Now you have this.
Now it is a simple job to attach the sides to the top.
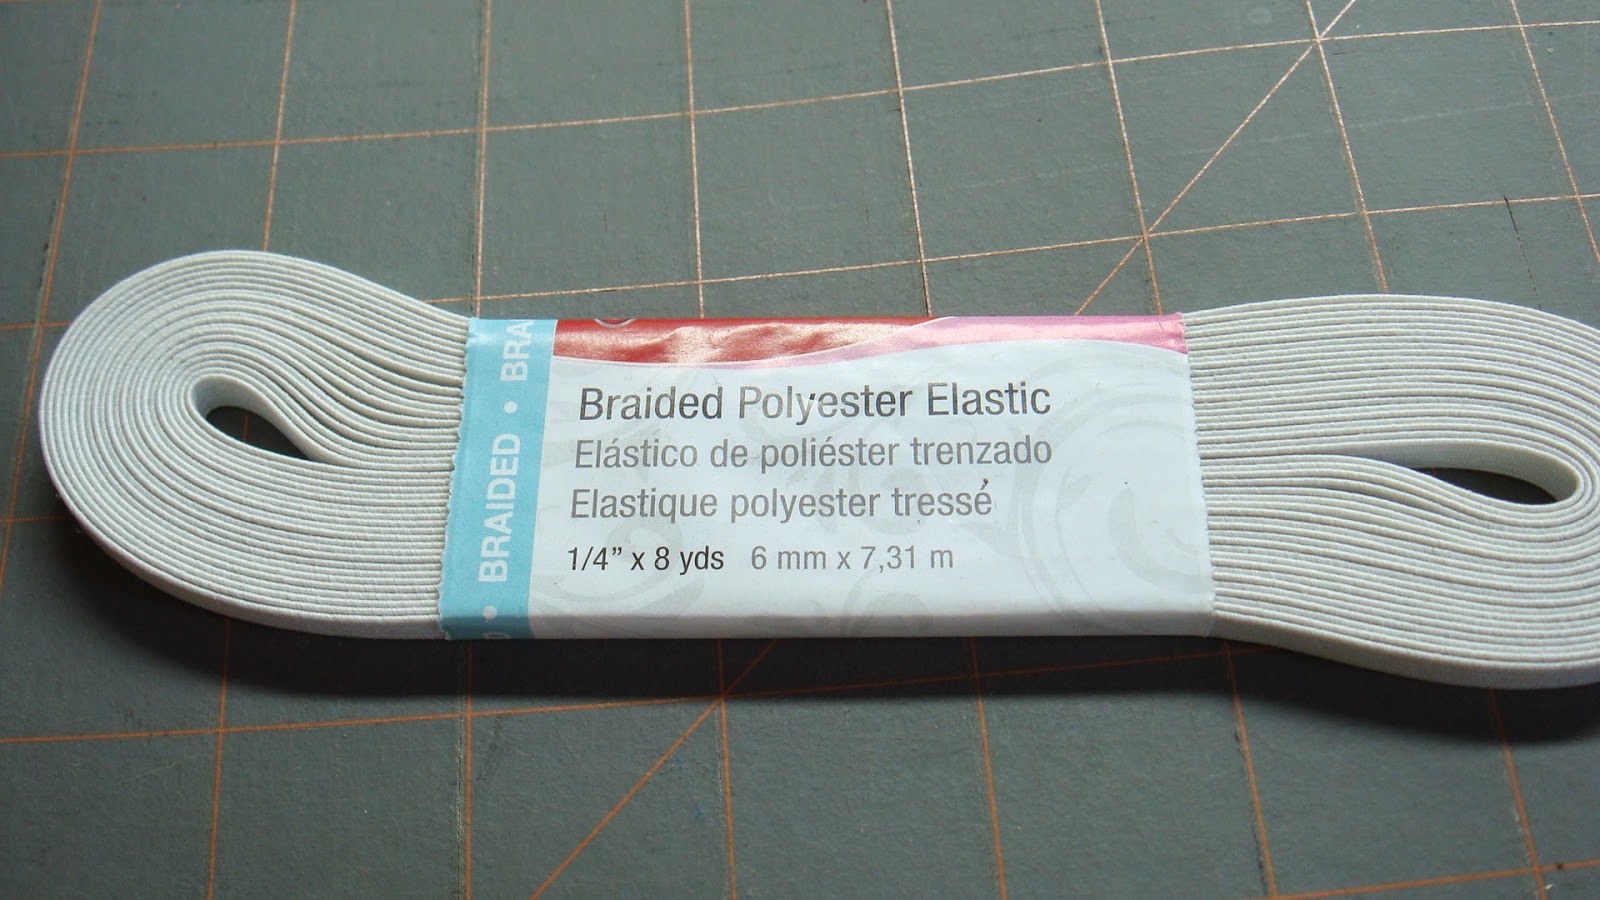
Next is the elastic and this can be done in several different ways. You are going to fold the edge over 1 1/2". Remember the sides are 3" so you will basically be folding in half. You can go with a light weight 1/2" to 3/4" elastic but I feel that it can get in the way of skirt and pants waistbands. What I do is use 1/4" elastic. And because I am a firm believer in S**t happens I prefer to use a double channel and use two pieces of elastic. And back to the math 84" waist. The measurement of the elastic is dependent on it's stretch. Basically I just pulled a piece until it was snug but not circulation cutting then measured it. In this case it was 50 inches which works to about 3/5th of the total. I added an inch for over lap and began to cut the elastic needed.
I did a double channel using a stretch stitch then put in the elastic and closed it off.
When done this is what you have.
Make sure that you have written all the measurements down along with a sample drawing in your notebook. Once you have done one it is easier to mass produce some more.
Tips:
- you can find plenty of pieces in the remnant section of your favorite fabric store so long as it has stretch and is comfortable you can use it. (I intend to try with old t-shirt next)
- always square off the material to make your rectangle. people are not perfect and cutting a small piece of twisty slippery fabric can leave for some major uneven edges.
- not all materials stretch the same. remember what type of stretch the original piece you are getting the measurement from and if the next piece is less or more stretchy adjust accordingly.
- these can be very cheaply made. Even at full price a 1/2 yard will still only cost around $5.00.
- I got 3 1/2 sets of elastic from the one roll of elastic.