Thursday, April 25, 2013

dress to top preteen style

Inspired by some of the blogs we decided to hit some of the yard sales and my sister picked up a few items one of which was this dress. My niece loves little crop tops that she can wear over tanks and t-shirts so I detached the skirt which will be used in a different project and hemmed the top. In order to dress it up a little I applied rhinestones to the edge of one side.


It looks better with a faded red tank that she wore last time all in all I think it came out okay. Though her father when he saw it on the dress dummy wanted to know where the rest of the shirt was once we were done laughing it was pointed out she would not be wearing it alone. We need to find some more I am thinking they would make cute boleros as well


Saturday, February 9, 2013

Another Skirt to Top

This is the last of the skirts we bought and I did it each a little different since I did not want identical tops plus it was fun to play with. I cut off the elastic and this time we decided to go straight across with only a small part sewed so that the top would act expose the tank top underneath.
To make sure that it would not dip in the center folded down the excess to make sure it was straight.

 Very nice look the sides are open and drape almost to the waist but with a tank top underneath it looks good and as you can see very slimming. That's my mom peeking around the background. The shoulder seam was only 3 inches long.

Skirt to Drape Vest


I love this skirt but it has been a long time since it fit anyone. The material is almost a chiffon with a sheer liner beautiful material but a pain in the caboose to work with. My first thought was some kind of top but the skirt was like a large and I am more a 4x kind of woman so I decided to take it apart first and see if inspiration fit.
I took off the top including the darts then opened up both the liner and the skirt at the slit on the side. I decided to use the pinking shears to reduce the fraying of the edges as I worked. I had recently done a vest from an idea on Pinterest which I will post later. Decided that this would work. First thing was to take the solid slip material folded it and cut in two pieces length wise. Then sewed each piece to one side of the patterned material.
I folded the material in half the skirt part would be the back and sides as you can see. I found a tank top pattern. If you look closely you can see that the back part of the pattern is up against the fold. Once it is pinned then pin the front making sure that the sides line up   properly. Now cut out by following the neck, up around the shoulder, down and around the armhole back up to the front shoulder and along the front neck. Remember you are NOT cutting the sides just the armhole.

Okay here I ran into a problem that I fixed pretty easily and you might too. As you can see you will have a lot of material extended past the edge of the patter this will be your drape. the problem I had was the front neckline.
You can see that I figured that I would just cut straight to as if the neckline just extended out in a straight line. WRONG!!. The Drape would not work. Luckily the skirt was long enough that I laid it out again and this time. I bypassed the front neck and cut straight across from the top front shoulder. The reason for the curve is that the skirt had a curve but I was not worried since it really would not be noticed.
The drape worked well. I left it that long because I wanted my sister to be able to wear it as well and she is taller then me with a larger bust.
I think it came out pretty well. You can let it hang as a narrow drape or as I did and spread it pack a little. Not bad considering I did it one night so that I would have something to dress up a plain black dress.


Wednesday, February 6, 2013

DIY Sewing Dummy

I need to sew in short increments due to back and hip problems and it can be hard on the model since I cannot exactly interrupt them every time I need them. It doesn't help that some of my work is done late in the night or early in the morning depending on when I feel like it. I have seen lots of tutorials out there on how to do this and thought it was worth a shot.


Couple of mistakes I made that I did better in my niece's was be sure to make the neck all the way up. It makes it easier to judge for tops. Bring the bottom down to mid thigh it makes it easier to judge fit for skirts and dresses. We were not afraid to make it tighter as well since there will be some stretch when you get ready to stuff it. 


Someday I will probably redo my sisters.The hanger was just to give a way to hold it not really for hanging. I kept all the smaller scraps and used that as well as fiber to fill them then sewed the ends shut. At the bottom I cut a piece of cardboard to fit so that it would sit up easier.While the form was on them I drew lines for centers and waist and bust marks.
Usually I will set it on a small folding table since it works the best for skirts and longer shirts.
It is so much easier to do the rough fittings and changes on these then try them on the people when I am close to fitting. It does not take as many rolls of tape as you would think. Just make sure the shirt is long enough and use plastic wrap around the neck and arms as needed. Before cutting the back I placed marks so that once I got it off I could tape it back together accurately.
To find how to videos and instructions type in how to make a duct tape dummy there are hundreds and any will work.

Necessity Blah Blah 2

You know they say that a stupid idea that works is not a stupid idea. I could not find the stand that holds the spool and needed to sew something that night. First I put the spool in a cup and after moving it around found that it worked but if the cup moved I had to reconfigure its placement again. Then I thought if only the bobbin winder were taller. Hmmm!!!
You have to use good straws not the cheap flimsy ones. I found these at HEB nice thick ones. I made a small cut then forced the straw down letting the little hook force the cut deeper so it would be secure. Took a couple of tries.

Wind the thread like normal and it works. The only time the straw came loose was when I was sewing a long piece really fast and that may be because my table shakes when that happens. Otherwise unless I knock it down when I am changing threads it works perfectly.  Of course when I need to wind a bobbin I need to remove it. I never did find my spool holder. Oh well.

Thursday, January 31, 2013

Carry Case


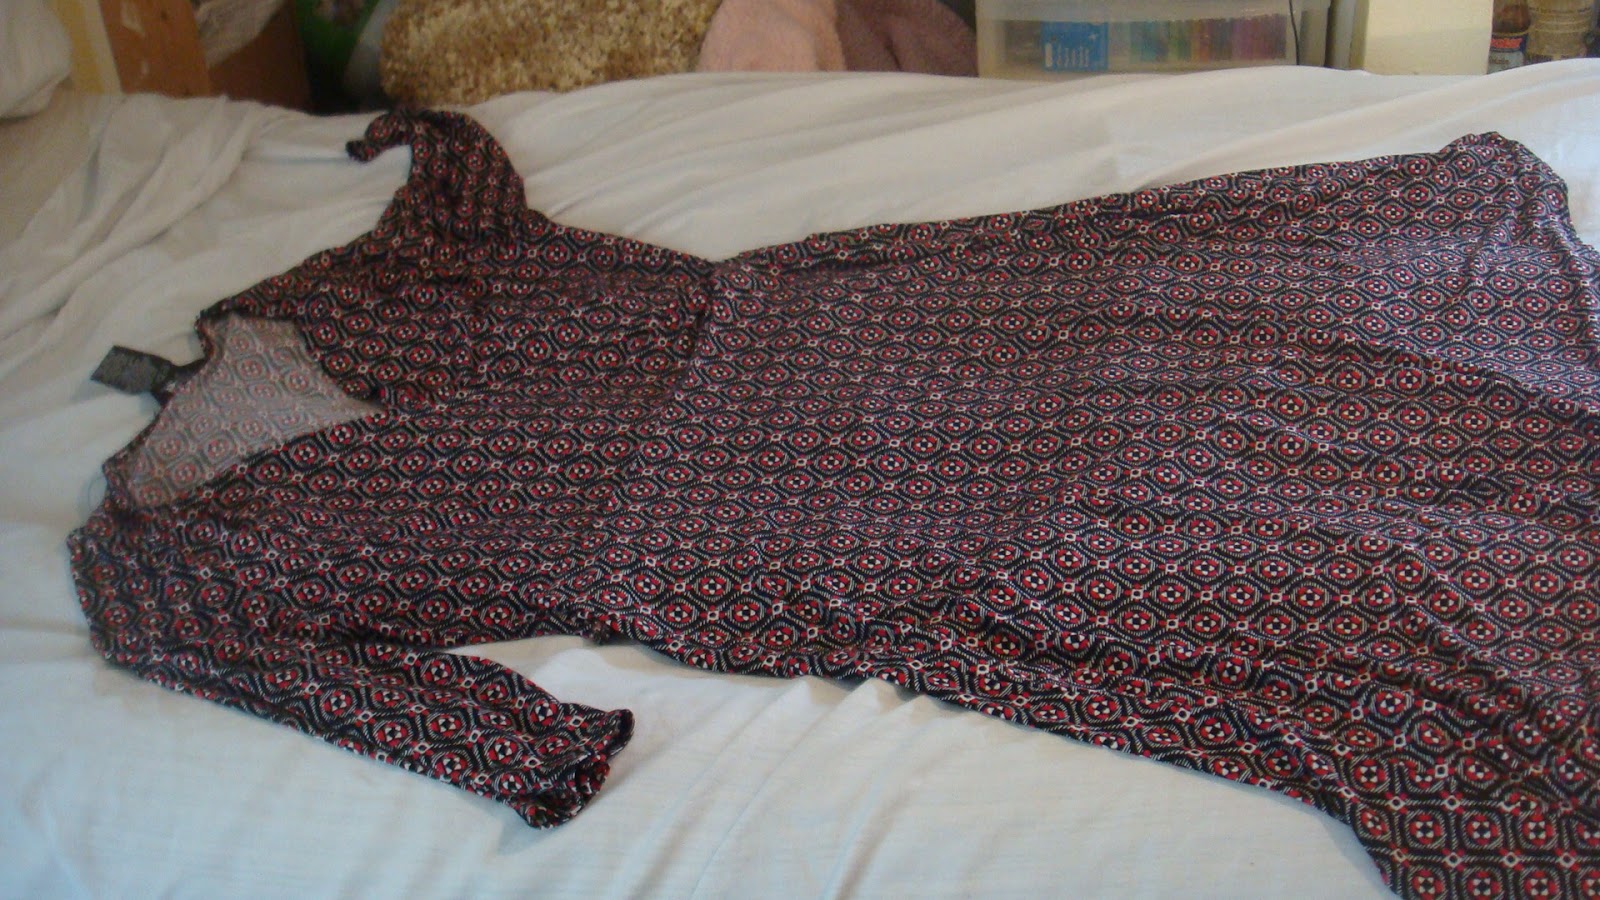
Back to Christmas gifts my niece got a tablet that needed a cover but something that is her style so first I found a hardback book that would fit and took the insides out. Then she gave me the leg of the pants that she made into shorts since she liked that material.
 When I hot glue I make sure it is at least 1/2" from the edge you will see see why later. After it is glued only then do I trim the excess material. Better too big and trim later then cut first and be too short later.
Since it takes so long to go all the way around I use a piece of paper and run the iron on a low setting over the glue to smooth it out. Not too hot.
I glue the inside material in the crease and within 1/2 of the edge. Then because I just do not trust Hot Glue not to harden and release I then sew the edges of the inner cover to the outside. This is why I do not put glue on the edges. While you do have to do this I think it gives it a cleaner edge versus using glue.

On the side the tablet is going to rest on I use tape to mark where the elastic is going to go. Once again here come the ponytail holders. I use hot glue then sew the corners down. To find how far in you need lay the tablet down place the tape around then stretch one elastic on the corner and mark the tape.

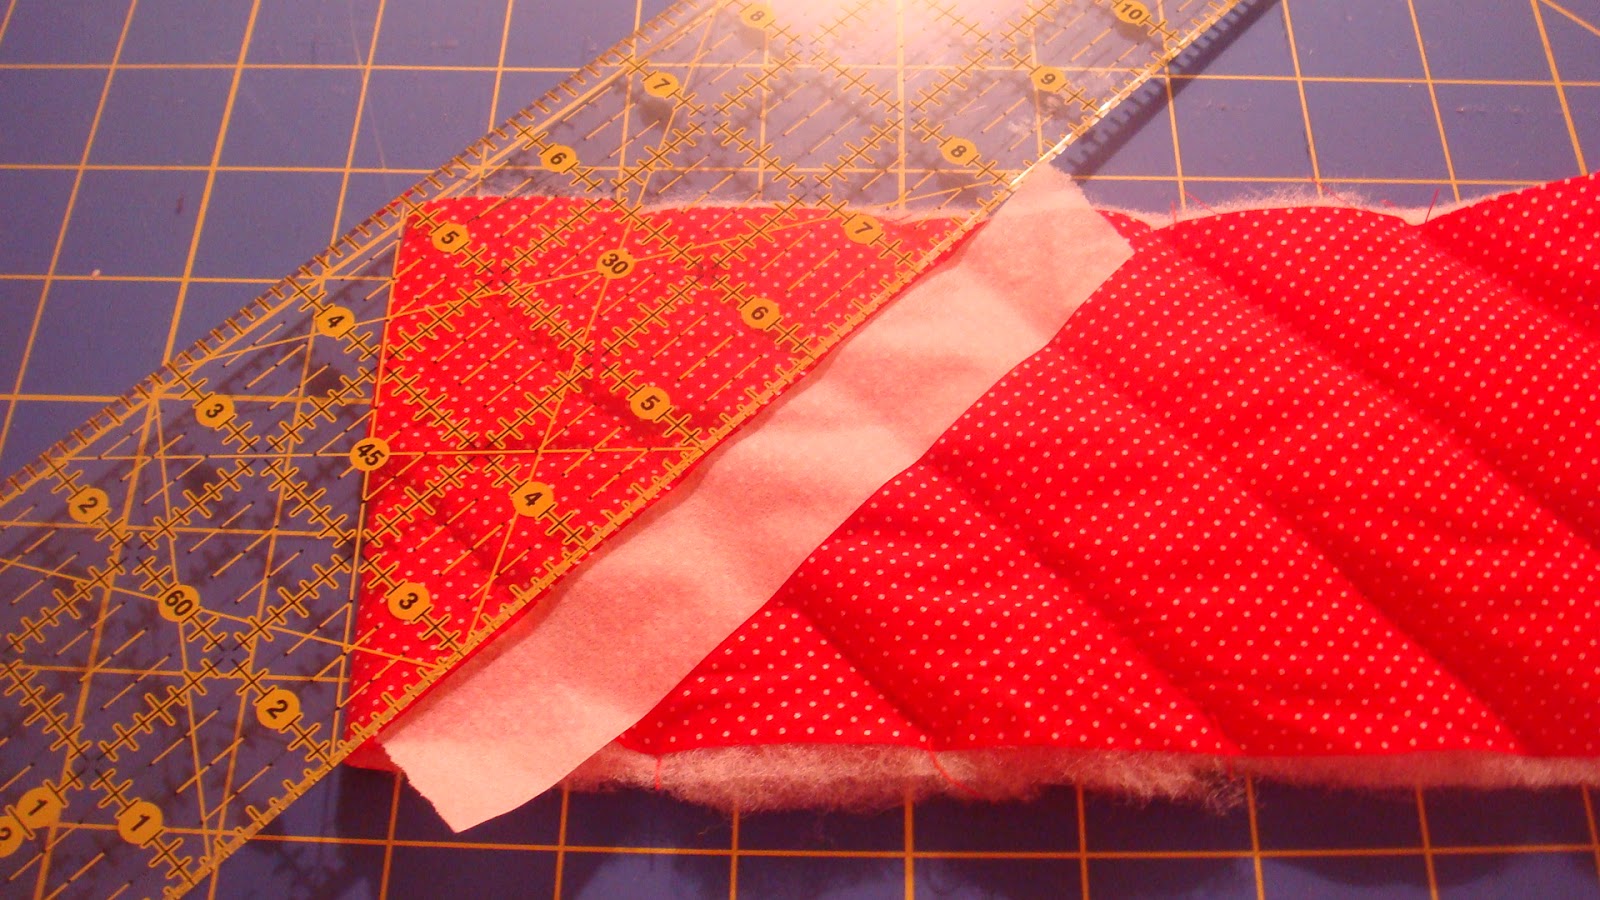
Now comes the pouch for the tablet. You could just leave it in the elastic all the time but I do not think it is that secure. Using the same material I did a quilted pouch and the tape makes a good guideline when you have trouble seeing. I wanted the sides open a little so it could breath and so if she wants to use her small laptop instead it would fit.

Here is the finished project I hot glued then sewed the pouch in. I wanted the opening to face the inside so that it cannot slip out. Then using some of the left over material I made an elastic band. Normally I would do a small loop with velcro but since the material stretches it would become distorted too easily.

For most people this is a one day project but since I have to take too many breaks it took about 3 days. This is one of those projects that anyone can do. I have used it for kindles as well as smaller laptops. Just find a hard cover book that fits.

Camera case

Riv received a new camera for Christmas and needed a case. I had some extra material from a project and some batting so did a quick case.


I added batting to protect the camera and decided on a simple diamond pattern. Since my eyesight is not the best I found this the easy way to get the pattern I needed. I just move the tape after each line and perfect diamond shapes.
To act as the closing elastic I used a hair tie sewn to the back and it loops over the top and around a button in front.

You can add a loop to carry it buy but since the camera has one I just let it hang out and use that one. I want to find a Strawberry button to replace the Gold heart I think it would look better.

Wednesday, January 30, 2013

Refashion weird t-shirt sports bra combo thing

Okay this is one of those weirder shirts it was a combo of a tshirt and a sports bra. the body was dusty pink and the straps were white. Into the dye it went.
First thing was to get rid of those straps and back bra part. Then I saw on Pinterest where they added some shape to the front by ruching so I tried that.
Find the center seam then iron makes it much easier. I used a paper tape it is easier to draw on and does not leave residue. I experimented with distance and found that 3/4 inch was the right distance. Why this sounds obvious make sure that the bigger part of the running stitch is in the back. Even the experienced sewer can make this mistake especially if you are listening to a good song and not paying attention :)
I just bought a new toy a Bejeweler Pro and that heart finishes the front nicely. Well it still needed something so I decided to dress up the sleeves.
I tried freehand drawing but really suck so I printed the pattern I wanted and learned something. If the design is too close in some areas you cannot put the stones down. Also while it is not hard it is time consuming and stress full if falling a pattern because you have to stay steady and with my back problems I could only do a little then lay down so it took me even longer. In addition I have read that it is best to really push the stone down with something to force the glue into the material. Just to be on the safe side I put a piece of paper over the top and ran an iron over the whole thing to make sure I got everything.
Shirt came out pretty good and survived washing and drying with no problems.


Riv said it would look even better with a good bra that is going to be one of my projects

Refashion shirt to jacket


We all have that shirt that just does not fit comfortably or is not in style anymore. So we decided instead of throwing it out to try something with it. What did we have to lose.
First thing was to dye it because the white was dingy. I used Maroon because of the florals and it did not turn out bad.
Because it was a little snug we decided for an open look. When you have to cut a T-shirt I found ironing the edge you are going to cut makes for a better cut. since the neck had a weird trim I folded that in.
Again before sewing iron your edge it helps to keep the material straight without any weird stretching and you can see if there are going to be any problems like the corner that needed to lie flat. I used pinking shears so did not have to worry about the edges.
To dress it up a little I used black rhinestones in the hearts of the flowers to give it a sparkle and added trim to the neckline.
Now its a new top that she can use more often with three different tanks underneath.