Tuesday, January 24, 2017

Sorry for the long absence 2016 was a horrible year for us beginning with the death of my sister's beloveded Edward Pena. He left a big hole in our hearts and in our lives. He is missed.

Image may contain: 2 people

My medicines were not right and there were several months I just never got out of bed. The new ones seem to be better I am no longer in a fog anyway. I lost a lot of pictures of projects I did but they are fairly simple so will show the finished items and explain what I did. Here is hoping for a better year with some interesting projects to show for it. Life goes on and we have a large family to help us through all the pain.

Monday, November 16, 2015

70's denim to cowgirl outfit

Luckily I hit the thrift stores when I have extra cash because  I was told one evening that my niece needed something cowgirlish for the next day. Don't you just love that? Luckily I had picked up some denim dresses and skirts that were so seventies. This one had short puff sleeves with some lovely embroidery and a straight A-line skirt.
Very easy to deconstruct first I snipped out the sleeves then carefully cut straight across about 10 inches below the armpit. The split the top up the middle along one of the pintucks.

To clean up the armholes by taking out the top stitching and cutting the remains close to the seam. A quick hem to the front and the vest was done.

For the skirt I took the length off the bottom so I could use the bottom hem  as a waist casing.

After I cut it off I then cut it again 1/2 inch from the seam then added it to the top of the skirt cutting off the excess. A quick hem on the bottom and a very nice denim skirt.
Not bad for a 1 hour remake.

Saturday, November 7, 2015

Sheets to the rescue

Well thank goodness Halloween is over and I only had to do one costume with notice and one last minute costume. I love sheets they come in so handy for one time use items or one season items.
I had a light gold sheet that turned a lovely shade of brown with a quick bath in dye and my brother-in-law picked up a a black queen sized flat sheet for 6.99.


You can see a simple drawing that I used for measurements. Luckily they were both capes with hoods one for a Jedi and one for a ghoul. Luckily I had several days to figure out the jedi since I was up late doing the ghoul the night before. Anyway back to the drawing. I measured down from the neck to the floor. then from center neck to wrist, from top of shoulder to two inches below armpit. and with the arms down a measurement around the body loosely.

 I folded the sheet in 1/2 length wise and then again so it would fit on my  cutting board I rolled up the material along with the measuring tape to make it easier to handle. One thing to remember with this is that nothing has to be exact. Honestly even if I was working with richer materials I still would not worry about the measurement this is a very forgiving pattern.
 Now it gets tricky I refolded one side back around so that I could cut the openings for the arms without spreading it out. (Which you could do.) so on one side you have two folds on the other side you have one fold in between two sheet ends.


I measured down 12 1/2 (to include seam allowance) from the top and cut along the fold.


Now remember we are working with a queen size sheet a size that will fit anyone from a slight teenager to an adult. Lay it out flat and find the center of the back and start folding and pinning. Remember with I measured around my ghoul I take that numer and divided in half. that is the general size I need for the front and back. once the back is that size I sew the folds.


The front is the same way only start the same distance from the sleeve end that the back had and fold until the front is a 1/4 of the size. remember both front pieces will equal half.

Next to cut was the sleeve. I needed the measurement from the center of the back to wrist. so whatever is left after removing the back in this case 15" by 25"

Open up the armhole and finding the middle of the 25" inch start to pin in place then sew.


With both sleeves in close up the top and begin to sew in from the end of the sleeve. I measured appr. 7" from the beginning of the sleeve up the shoulder to stop. This is adjustable so don't worry about it. You want it loose enough to overlap a little in front but not so tight that you are choking the person.

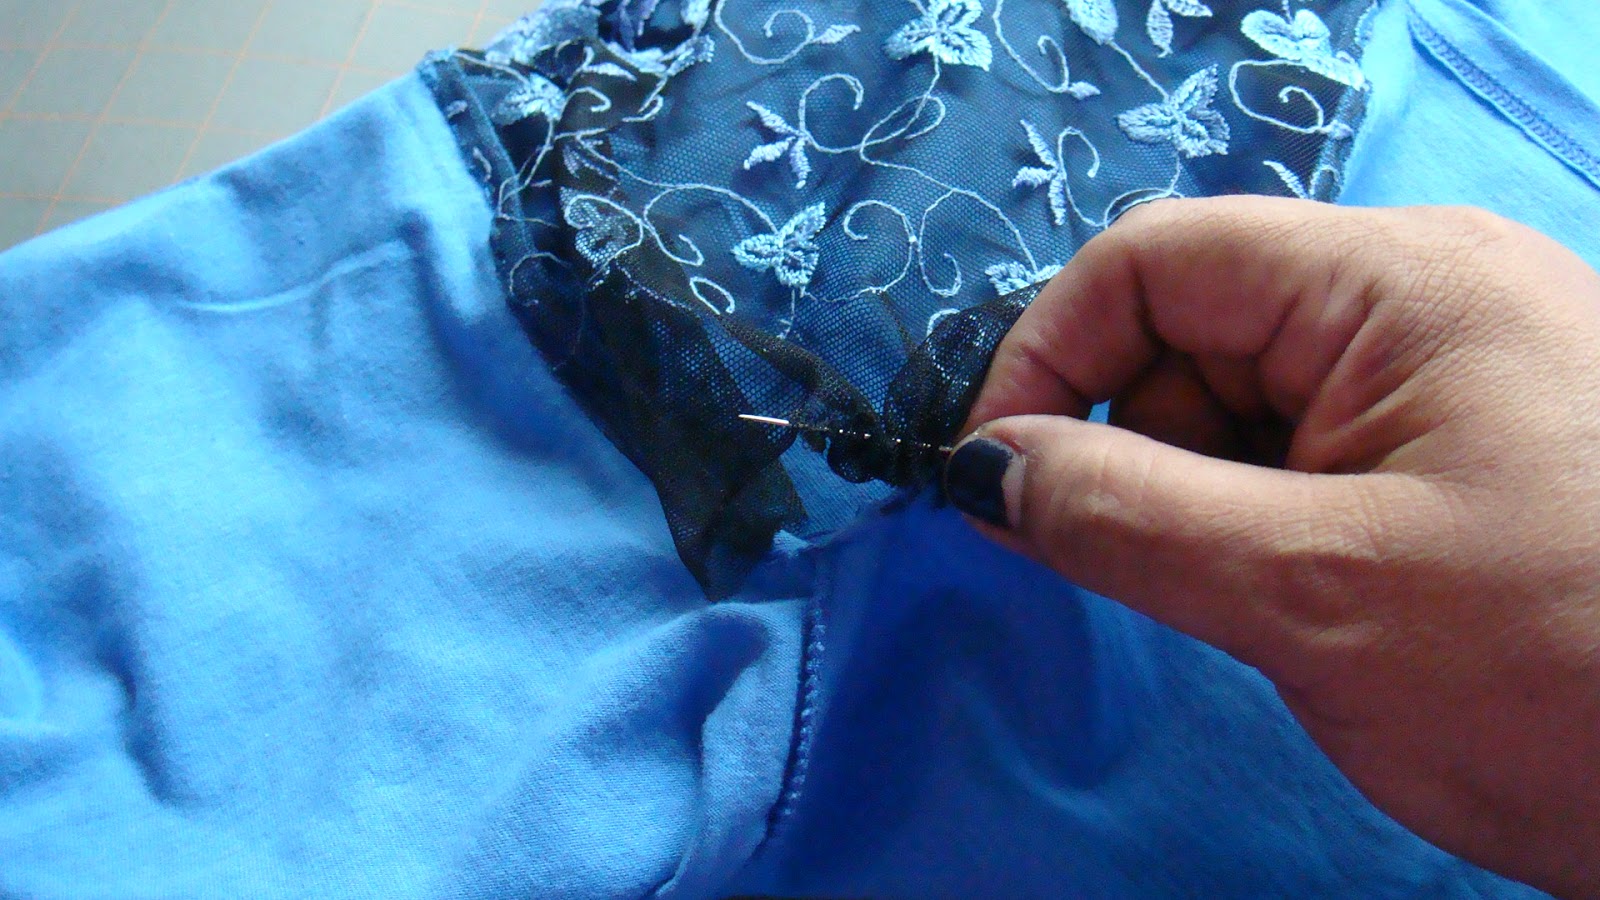
 Next is the hood I used the end of the sheet with the wide hem for the face because it's heavier and drapes better. I cut a large rectangle by measuring from my eyebrows to the back of my neck then from shoulder to shoulder. So long as it is bit size is not that important. Then I used the Ruffler foot on 6 on the other three sides. If you are doing for a teen or child I would use a 12 on the Ruffler. You can also just baste and pull the thread to gather.


Pin the corners where the shoulder seam is, the end matching up to the front edge, the middle to the middle of the back, then fit the rest of the material. 


 You might have to gather it some more to fit. That is why I said this is a very forgiving pattern. Just adjust to fit the size of the person.


So here you have Yoda and a Ghoul and the outfits can double as house robes.


Wednesday, October 21, 2015

Don't throw it away

I sometimes wonder where we are going because these coming generations are so used to the idea of it's broke throw it away, it's torn throw it away, it's stained throw it away. Reuse people it a simple concept. With so many people everyone has their own clothes basket and since 1/2 of this family seems to have the mental age of a toddler the baskets get thrown around, stepped on, overly filled and other abuse like this one.
Well the little suckers are surprisingly overall sturdy and tall so I decided to trim it just enough to take off the damage. You will need a ruler, a marker or pencil, and sturdy shears or utility knife, and an emory board.
You can either mark all the way around or use the holes for guides. an alternative is to mark several points and use scotch tape to get a straight line. Now the hard part cutting. If you use an utility lay the basket flat on a cutting surface make sure when using the knife that the hand holding the basket is to the side of the cutting line and not on top of the line or behind the hand using the knife. The plastic can be tough and you can slip easily and trust me cutting yourself hurts like hell not to mention could be dangerous if you cut too deep. Personally I prefer the kitchen shears less chance of injury. If you use older scissors make sure you sharpen them.
When you finish you then need to use an emery board to smooth over the cut surfaces to keep from scratching yourself or from it catching on clothes.
I usually use a small amount of whatever is in the basket to cushion the holes when I pick up the basket when it is full.
 In the other basket the handles tore so I just cut them off. The baskets last a little longer and one less expense this month.

Dress With Lace

How to Dress up a Plain Shirt with a little Lace

My sister bought some plain t-shirts and needed to dress them up a little in order to wear them for work. One of the things she had done with the tax refund was to stock up on some appliques and lace from Angel Trim (http://www.angeltrim.com/). They have some gorgeous items for low prices.

Anyway I decided to add an applique to the front. The trick is to trying the different ones to find a neckline that would fit close to what I had. I did not want to put a v-neck applique on a scoop neck shirt. Why make extra work. This is the one I ended up with.
You will notice that there is a small cutting mat on the inside of the shirt this is to make it easier to line up the piece with the existing neck and shoulder line. I can then pin it easily. I decided the easiest way to do this was to use some of the Tacky glue to hold it in place then hand sew around the larger pieces. I used the sewing machine and a zigzag stitch on the shoulders and neckline.


I used one pin to hold up a section and put glue on another pin to put underneath easier. You can use anything a flat toothpick would work very well but I was stuck with what I had.

Now I wanted to add something to the bottom and to make the shirt a little looser so it would not roll up on the bottom. I folded the shirt and I cut up both sides around 6 inches.(If the shirt does not have seams on the side then iron a crease into the shirt and use that as the guide for cutting.)
 This is another one of the laces she bought it was 6" x 3 Yds
Almost a perfect match for the shirt isn't it. I wanted it to gather so I cut each piece around 8 inches long then sewed it to each side staying 1/2 inch from the top. To get a clean edge I ironed the seam flat towards the lace first.


 The folded it back ironed again to form a crease and sewed it flat again staying away from the top edge.
I used a decorative stitch to add some detail when I topstitched it.
Now for the top. I turned the shirt inside out and gathered the top end of the lace and hand sewed it shut.

Now to get a nice clean look on the top I pin it from the sewn edge up to nothing.

You can see how it went from a nice but plain shirt to something suitable for work.

Very simple re-do and with the number of inserts out there you can have many different looks for very little money and time. The neck applique runs around 3 dollars and the lace on the bottom even less, remember I only used enough to make an insert.

Tuesday, July 7, 2015

New Life For An Old Couch

We picked up a nice couch at the thrift store that we hoped would last a while because betwee 4 teenagers and four nephews who while in their late 20's early 30's do not understand the concept of sitting down properly it takes a lot of abuse. It is constantly having someone plop their not inconsiderable weight down like they are trying to subdue the couch. Food, drinks and assorted animals do not help. After six months some of the cushions were showing the wear and tear. One seat cushion and one back cushion were pretty much beyond help but we wanted the couch to at least last until the move so I went looking through my stash of fabrics. I found some rusty red denim that I had picked up that would work with the couch.
The bottom cushion was mostly stained but the fabric was in decent shape so I decided to just make some covers for it. I measured between the piping and added 1" seam allowance. Then I ironed each side folding over the 1/2" seam allowance.
I put the zipper foot on because I intended to sew close to the piping. I could have taken off the front panel and sewed it in that way but I wanted the extra stability. Also this way if the piece got to stain rip off the stitches and replace with another piece easily.


 I did three sides because nothing is perfect and I wanted to be able to adjust the last side if it was too big or too small.
I refolded the edge and ran a quick iron to give me a new crease to work with.
 When you are done you have a new looking cushion. I did both sides so I could flip if needed. The material matched well. Now for the back cushions.
That was a totally different situation because they had been attached from the middle to the back of the soda and one too many wrestling matches had torn one off completely. The others were still attached but I did not want to put the cushion alone on one end. I removed the one on the other end so I could make matching pillows. These were going to be done completely from scratch.

After measuring the length 18" and width 16" an depth 3" of the pillow I decided the easiest way to do this was take a long strip of material that was the length 18 " (no seam allowance) x 2 plus the side width  3" x 2 then I will need one seam so added 1" . The total strip was 17" x 39". I then cut two end strips that were 19" by 4".


First I pinned the length closed using the 1/2 seam allowance then sewed it shut, this showed me where the middle end seam would be. I then placed a pin where the other center was.
 I then pinned a strip to the middle and marked in 1'2 both sides to know where the corner was going to be. I sewed it and double tacked the ends.

 I found that if I folded it diagonally and creased it then pinned the corner carefully and begin to sew to the other end where I had placed the chalk mark of 1/2"

First fold
 Then fold back diagonally
 Line up the long side and make sure that the fold underneath is clear.
Then pin and sew. I sewed in one direction all around this made moving the material easier.
 On one side I left a gap of about 7 inches in the center of one long side in order to turn the material inside out and stuff.


Once it was turned i restuffed with the material from the old cushion then pinned and hand sewed the opening close. 
 When finished you have a sofa that looks fresh and different. And yes it did last us through the move.