I sometimes wonder where we are going because these coming generations are so used to the idea of it's broke throw it away, it's torn throw it away, it's stained throw it away. Reuse people it a simple concept. With so many people everyone has their own clothes basket and since 1/2 of this family seems to have the mental age of a toddler the baskets get thrown around, stepped on, overly filled and other abuse like this one.
Well the little suckers are surprisingly overall sturdy and tall so I decided to trim it just enough to take off the damage. You will need a ruler, a marker or pencil, and sturdy shears or utility knife, and an emory board.
You can either mark all the way around or use the holes for guides. an alternative is to mark several points and use scotch tape to get a straight line. Now the hard part cutting. If you use an utility lay the basket flat on a cutting surface make sure when using the knife that the hand holding the basket is to the side of the cutting line and not on top of the line or behind the hand using the knife. The plastic can be tough and you can slip easily and trust me cutting yourself hurts like hell not to mention could be dangerous if you cut too deep. Personally I prefer the kitchen shears less chance of injury. If you use older scissors make sure you sharpen them.
When you finish you then need to use an emery board to smooth over the cut surfaces to keep from scratching yourself or from it catching on clothes.
I usually use a small amount of whatever is in the basket to cushion the holes when I pick up the basket when it is full.
In the other basket the handles tore so I just cut them off. The baskets last a little longer and one less expense this month.
We are trying to survive in a combined household with pay cuts, children, dogs, lots of dogs, invalids, stubborn people and no stress at all. Luckily we were taught to cook, sew and cheat our budget to make ends meet. We survive ......live nicely and here are some tips for others in this boat.
Wednesday, October 21, 2015
Dress With Lace
How to Dress up a Plain Shirt with a little Lace
My sister bought some plain t-shirts and needed to dress them up a little in order to wear them for work. One of the things she had done with the tax refund was to stock up on some appliques and lace from Angel Trim (http://www.angeltrim.com/). They have some gorgeous items for low prices.
Anyway I decided to add an applique to the front. The trick is to trying the different ones to find a neckline that would fit close to what I had. I did not want to put a v-neck applique on a scoop neck shirt. Why make extra work. This is the one I ended up with.
I used one pin to hold up a section and put glue on another pin to put underneath easier. You can use anything a flat toothpick would work very well but I was stuck with what I had.
Now I wanted to add something to the bottom and to make the shirt a little looser so it would not roll up on the bottom. I folded the shirt and I cut up both sides around 6 inches.(If the shirt does not have seams on the side then iron a crease into the shirt and use that as the guide for cutting.)
This is another one of the laces she bought it was 6" x 3 Yds
Almost a perfect match for the shirt isn't it. I wanted it to gather so I cut each piece around 8 inches long then sewed it to each side staying 1/2 inch from the top. To get a clean edge I ironed the seam flat towards the lace first.
The folded it back ironed again to form a crease and sewed it flat again staying away from the top edge.
My sister bought some plain t-shirts and needed to dress them up a little in order to wear them for work. One of the things she had done with the tax refund was to stock up on some appliques and lace from Angel Trim (http://www.angeltrim.com/). They have some gorgeous items for low prices.
Anyway I decided to add an applique to the front. The trick is to trying the different ones to find a neckline that would fit close to what I had. I did not want to put a v-neck applique on a scoop neck shirt. Why make extra work. This is the one I ended up with.
You will notice that there is a small cutting mat on the inside of the shirt this is to make it easier to line up the piece with the existing neck and shoulder line. I can then pin it easily. I decided the easiest way to do this was to use some of the Tacky glue to hold it in place then hand sew around the larger pieces. I used the sewing machine and a zigzag stitch on the shoulders and neckline.
Now I wanted to add something to the bottom and to make the shirt a little looser so it would not roll up on the bottom. I folded the shirt and I cut up both sides around 6 inches.(If the shirt does not have seams on the side then iron a crease into the shirt and use that as the guide for cutting.)
This is another one of the laces she bought it was 6" x 3 Yds
Almost a perfect match for the shirt isn't it. I wanted it to gather so I cut each piece around 8 inches long then sewed it to each side staying 1/2 inch from the top. To get a clean edge I ironed the seam flat towards the lace first.
The folded it back ironed again to form a crease and sewed it flat again staying away from the top edge.
I used a decorative stitch to add some detail when I topstitched it.
Now for the top. I turned the shirt inside out and gathered the top end of the lace and hand sewed it shut.
Now to get a nice clean look on the top I pin it from the sewn edge up to nothing.
You can see how it went from a nice but plain shirt to something suitable for work.
Very simple re-do and with the number of inserts out there you can have many different looks for very little money and time. The neck applique runs around 3 dollars and the lace on the bottom even less, remember I only used enough to make an insert.
Tuesday, July 7, 2015
New Life For An Old Couch
We picked up a nice couch at the thrift store that we hoped would last a while because betwee 4 teenagers and four nephews who while in their late 20's early 30's do not understand the concept of sitting down properly it takes a lot of abuse. It is constantly having someone plop their not inconsiderable weight down like they are trying to subdue the couch. Food, drinks and assorted animals do not help. After six months some of the cushions were showing the wear and tear. One seat cushion and one back cushion were pretty much beyond help but we wanted the couch to at least last until the move so I went looking through my stash of fabrics. I found some rusty red denim that I had picked up that would work with the couch.
The bottom cushion was mostly stained but the fabric was in decent shape so I decided to just make some covers for it. I measured between the piping and added 1" seam allowance. Then I ironed each side folding over the 1/2" seam allowance.
I put the zipper foot on because I intended to sew close to the piping. I could have taken off the front panel and sewed it in that way but I wanted the extra stability. Also this way if the piece got to stain rip off the stitches and replace with another piece easily.
I did three sides because nothing is perfect and I wanted to be able to adjust the last side if it was too big or too small.
I refolded the edge and ran a quick iron to give me a new crease to work with.
When you are done you have a new looking cushion. I did both sides so I could flip if needed. The material matched well. Now for the back cushions.
That was a totally different situation because they had been attached from the middle to the back of the soda and one too many wrestling matches had torn one off completely. The others were still attached but I did not want to put the cushion alone on one end. I removed the one on the other end so I could make matching pillows. These were going to be done completely from scratch.
After measuring the length 18" and width 16" an depth 3" of the pillow I decided the easiest way to do this was take a long strip of material that was the length 18 " (no seam allowance) x 2 plus the side width 3" x 2 then I will need one seam so added 1" . The total strip was 17" x 39". I then cut two end strips that were 19" by 4".
First I pinned the length closed using the 1/2 seam allowance then sewed it shut, this showed me where the middle end seam would be. I then placed a pin where the other center was.
I then pinned a strip to the middle and marked in 1'2 both sides to know where the corner was going to be. I sewed it and double tacked the ends.
I found that if I folded it diagonally and creased it then pinned the corner carefully and begin to sew to the other end where I had placed the chalk mark of 1/2"
First fold
Then fold back diagonally
Line up the long side and make sure that the fold underneath is clear.
Then pin and sew. I sewed in one direction all around this made moving the material easier.
On one side I left a gap of about 7 inches in the center of one long side in order to turn the material inside out and stuff.
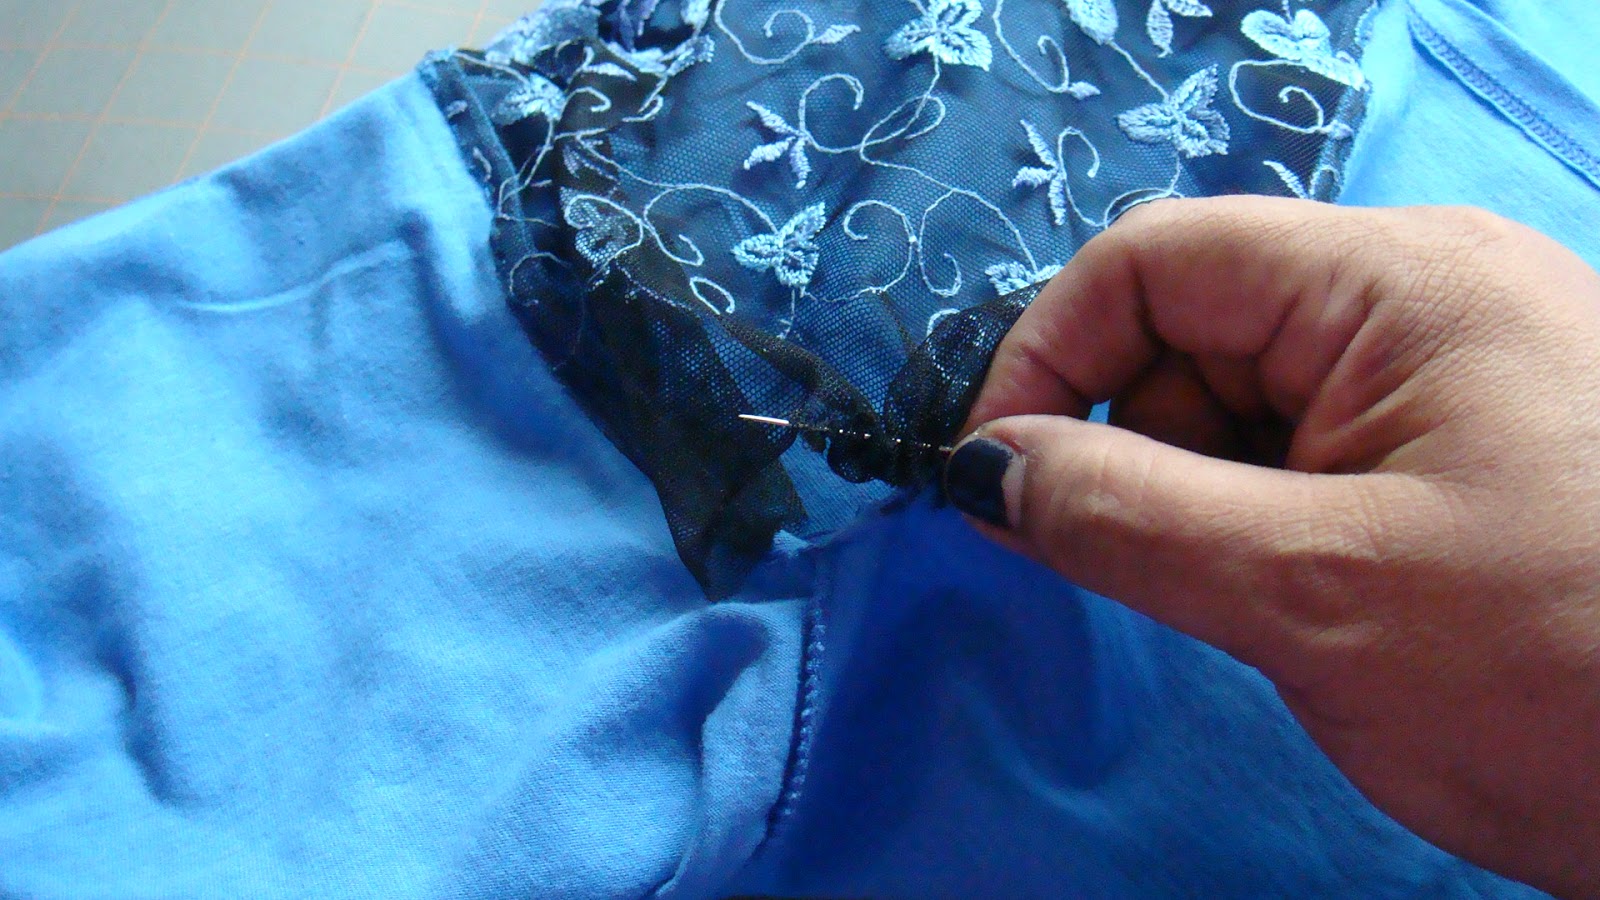
Once it was turned i restuffed with the material from the old cushion then pinned and hand sewed the opening close.
When finished you have a sofa that looks fresh and different. And yes it did last us through the move.Monday, July 6, 2015
Skirt To Top With Lace Sleeve
I am very found of broomstick skirts or really any skirt that is really gathered because there is so much material to play with and a plus size woman can get away with using a smaller size. In this case the skirt was an XL and my sister wears a 4-5XL. The material was white and navy but there were spots so I put it in some yellow dye, and took off the waistband.
I forgot to take picture of the next step but all I did was measure 4 inch out from the center then measure from that pin to the edge of the sleeve (18") then cut a rectangle of lace 14" wide by 18" long. I like doing it this way because I can make the sleeve as wide as I need by adjusting the width of the lace without trying to force the fabric to the right size. It it is too narrow take off and redo. You can also taper the width if you want the ends more narrow or wider. I sewed that to the sleeve and finished the edges with a serger because the material unravels.
I finished it off with yellow binding all around the inside and the end of the arms. I did this instead of folding and hemming because there is nothing more annoying then a rough edge irritating you.
It actually looks good with a white or yellow bra or better yet a strapless. This took very little time and makes a nice summer top.
I wanted something with sleeves in a kimono style but the top would be too short if I tried that from the top, so I decided to try something different. I cut the top straight across then measure down six inches come in straight. I already had the bust measurement plus 3 inches so knew were the line would end. I then angled the cut out to the bottom to give an a-line shape. We wanted a loose flowy top but not too loose.
I forgot to take picture of the next step but all I did was measure 4 inch out from the center then measure from that pin to the edge of the sleeve (18") then cut a rectangle of lace 14" wide by 18" long. I like doing it this way because I can make the sleeve as wide as I need by adjusting the width of the lace without trying to force the fabric to the right size. It it is too narrow take off and redo. You can also taper the width if you want the ends more narrow or wider. I sewed that to the sleeve and finished the edges with a serger because the material unravels.
I finished it off with yellow binding all around the inside and the end of the arms. I did this instead of folding and hemming because there is nothing more annoying then a rough edge irritating you.
It actually looks good with a white or yellow bra or better yet a strapless. This took very little time and makes a nice summer top.
Monday, June 29, 2015
Moving bites
Well it has been a long few months, in March we decided it was time to sell the house and move to a bigger home to accommodate everybody. Nightmare pure nightmare, just a headsup for people it does not hurt to do a title search on your property because we were surprised to find several liens from different members of the family regardless of the fact they did not live there anymore and their name was never on the title. We also found liens for people we never heard of and that took some time to straighten out. We finally found a lovely house and now all the time is spent trying to get everything moved from storage into the house but its summer so we are taking it slowly. The neighborhood is lovely and I lucked out and found out that an older friend lives nearby and we were able to reconnect. I have some projects that I completed so I will try and get those posted.
Tuesday, February 10, 2015
Gray striped plus size refashion
Well it has been a while since I posted but it was a stressful few months between no pain medicine, the one year anniversary of my mom's passing and the two year anniversary of my sisters' it was hard to get the enthusiasm to write. But New Year and new motivation so here is the latest in refashion plus size.
My sister and I have the same tastes in some clothes in others we are like WTF why would you like that. This is one of them.
But she loved it so time to make it looser and look good. I hate adding triangles to a shirt because nothing shouts "it didn't fit me until now" at least to me. I have seen it done and have done so myself but it is hard to make it look like the original design so I decided to save my headaches and try something new. I had a grey tshirt where the front was messed up with bleach spots but the back was perfect. So I folded it and cut two long trapezoid.

Then I folded the pieces in half lengthwise and laid it on the shirt the narrow side to the top. Bear in mind that I want the piece larger then what I will make the opening and the difference between the top and bottom is less then two inches.
Once it is lined up with the edge I used chalk to mark where the underarm goes then I rounded of the top end. I cut allowing 1/4" to be turned under. Then I cut along the fold of the shirt all the way to the underarm.
I began to pin the piece in place after marking how far I wanted to spread the opening. My bad I got a little enthusiastic about how big I wanted it but my sister was happy she wants to use it with leggings or tight leg jeans. So the opening can be however big you want it to be just mark with chalk. The easiest way was to fold the shirt with the cut edges closed close the material around it with the underarm center joint and the bottom center joint in the right place. Place a ruler inside the shirt and push it right against the center seam of the add on. Then holding at the underarm pull the bottom of the ruler out to the side the amount of inches you want to add. I say use a ruler because it prevents the fabric from stretching out of place and keeps the edge smooth. This means there is no guesswork about the attachments edge. Move the ruler back under where the edge of the fabric overlaps the shirt and begin to pin it in place. The ruler I used is a quilting ruler but any one will do.
When you finish the inside will look like this:
You can see how enthusiastic I got at making this work. The outside will look like this:
There were some more changes first was the length of the sleeve that had to go luckily it was easy to cut off about two inches and hem it up.
Then because she is annoying that way she decided that she need a pocket to tie everything together. It is hard to put a pocket on a plus size person because if you put it straight according to a flat shirt it is going to look crooked once it is on. She came up with a good idea I made a paper pocket then kept adjusting it on while she wore the shirt.
Now you have the finished product:
Next time a little less extreme though the addon will stay the same size actually I might make it wider so it comes out closer to the bust. Did not take long to do for a normal sewer you are looking at 2 to 4 hours only because t-shirt material curls when cut and can be annoying.
Subscribe to:
Posts (Atom)