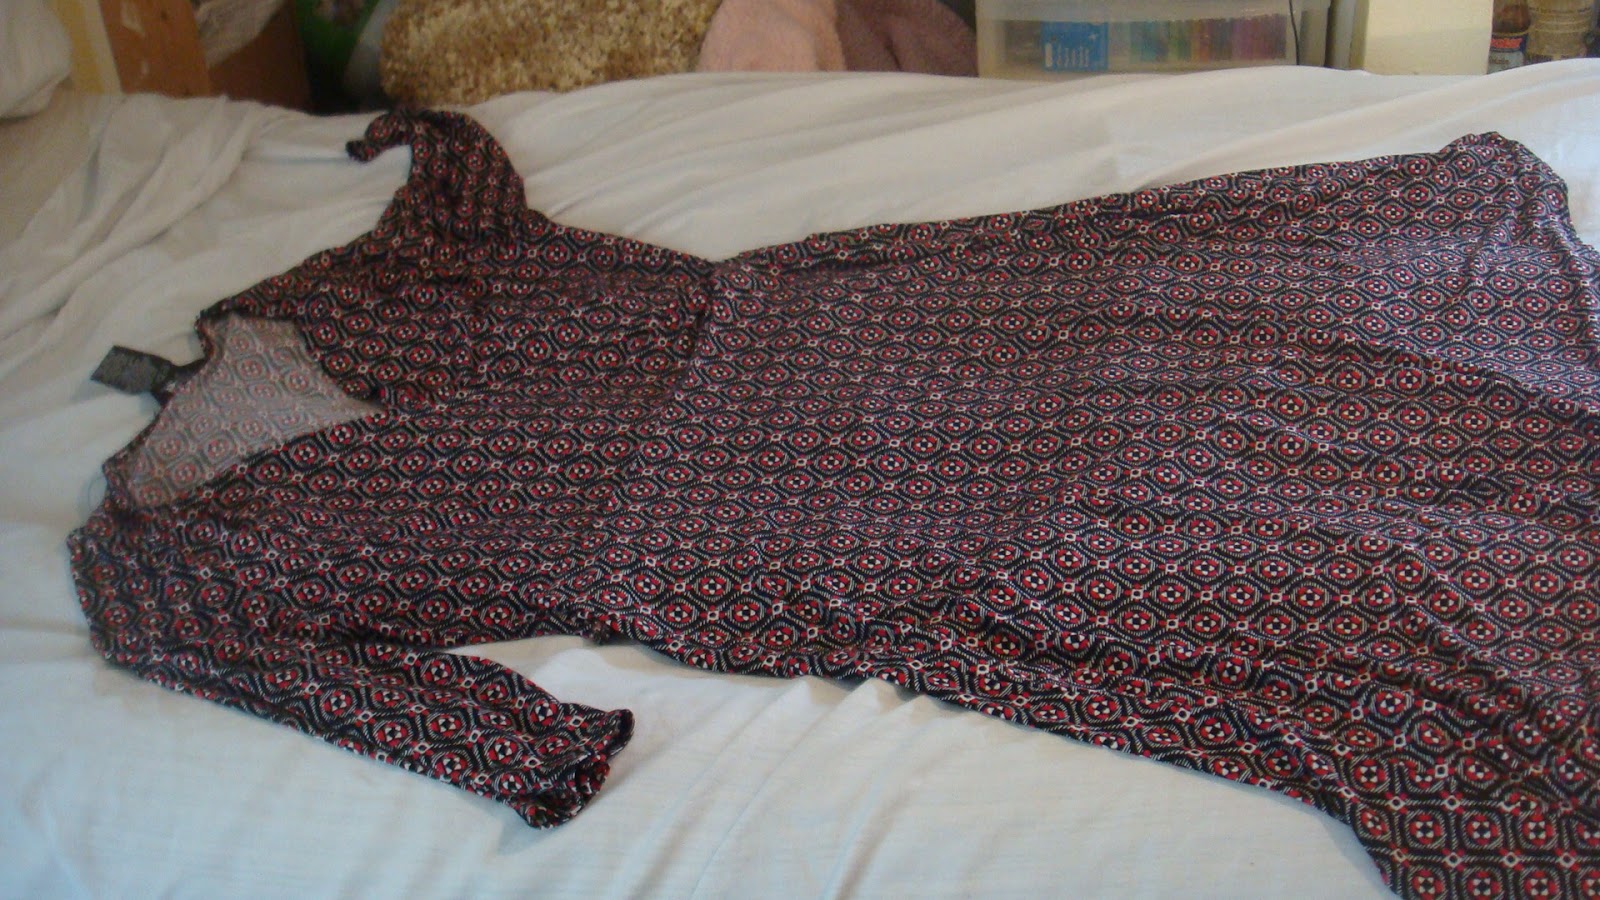
I have seen this technique several times on Pinterest and decided to try it. Mainly due to the fact that I always have trouble with small hems. I even bought the rolled hem foot which I can only get good results 1/2 the time. I was working on a shirt for my nephew and wanted a nice tight, clean, small hem and of course it was not a straight hem. The posts have talked about using tear away stableizer, frayed fabric, tissue or wax paper, one person even suggested using adding machine paper because it was thin enough to remove easily and still support the hem.
So I decided to put my own spin on it and because I did not have the other stuff. I used some print paper, a ruler and a rotary cutter to make 1" strips.
I experimented with different widths of course, too small and you can not get a clear tear away, too big is a waste and hard to maneuver around curves. 3/4" actually works but I wanted to get the most use out of each piece and with a 1" width I can actually recycle and use the other side for another project.
On the right side of the fabric line up the paper with the edge of the material. I have the need set all the way to the right to get as small a seam as I can. If you need is not adjustable just move the fabric over until you have the distance from the edge you need.
I do not bother with pinning the paper I just feed the next piece in as I go. As I get closer to the curves I will tear the paper to allow me to adjust around the curve. You do not even need to tear completely across just enough to bend.
Once the whole hem is done it should look like this.
Now comes the pressing, Make sure the Iron is not too hot especially if you are using wax paper. I am folding the paper out so that the sewn edge goes underneath toward the back of the garment.
You will notice that I used a very small stitch (little over 1) because the closer the stitch the easier it will be to tear away.
Now that it is completely ironed you will fold again towards the wrong side of the material. I ironed as I did this then placed a couple of pins. I think the ironing the edge made it easier. You can already see how small and clean the hem is going to be.
You will notice the needle is in the same position which puts it just on the edge of the fold.
This is what you should have when finished. now comes the fun part.
I found it easier to pull towards you and out away from the seam at the same time with a quick tug. Any bits and pieces of paper can be pulled later or use a damp cloth to clear it up.
When finished you have the following hem with maybe 3/16" of paper left in the seam. So not difficult and gives you such a nice finish better then most methods and not needing to use a lot of pins. I have already washed the shirt and did not feel any pilling probably because of the narrowness and the fact that it has no place to go. What will happen in the long run not sure of but since my family tend to hard their clothes it should not matter anyway.
We are trying to survive in a combined household with pay cuts, children, dogs, lots of dogs, invalids, stubborn people and no stress at all. Luckily we were taught to cook, sew and cheat our budget to make ends meet. We survive ......live nicely and here are some tips for others in this boat.
Showing posts with label sewing. Show all posts
Monday, September 22, 2014
Friday, March 7, 2014
Customizing bras
Like most women I hate bra shopping and have actually taken to wearing sport bras because I am lazy and hate having a bra that digs into the shoulder, too tight, too close in the middle, the straps falling and finding one that looks pretty. So I have been thinking about make ones from scratch or maybe a corset but that is for later, what I am doing right now is customizing bras we can can find. the size of the bra is not really that important what is important is that he cup fits well. The bras I am using are 42D while my sister is more of a 50D. Try finding one that size that is not an arm and a leg and that does not look like something from the 50's is difficult if not impossible.
First step is to separate the bras from the front. Everybody is different the best way to determine size is to measure the space while either wearing a good bra or after cutting the bra hold the pieces up to your breasts fitting comfortably and then have some one measure at the top of the cup. You will need to decide at this point if you wan the clasps in front or back. For myself and my sister it is just easier to have it in front instead of playing contortionist. Then cut the clasps from the back just past seam where the clasps are sewed to the bra. You will have to do this whether you put clasps in back or front. Detach the back strap where it meets the bra remember since you are making the back bigger you will have to move the strap in. At this point the bra should like the one below.
if doing the clasp in the front cut 2 pieces of the satin 3 inch long. Open the satin piece and fold one edge in twice 1/4" (this will prevent any fraying remember that this part will be handled often) then sew them to each edge of the clasps wrapping around. One thing to remember is that one line of hooks and eyes so pull the remainder you should now have pieces that look like this.
In this case the cups fit best at 3 inches apart at the top. Remember that they must be wider apart at the bottom. If you make this center straight the clasps will unhook the first time you move your shoulders as I found out the first time I did this. I tacked it by hand first then used the zipper foot to sew close to the under-wire.
If you are putting the clasp in the back then cut the satin twice as long as you need then leave it folded in half and sew shut. Again remember the bottom needs to be wider then the top when you finish. A good rule of thumb would be an 1" to 1 1/2" inches difference. In this case I used an 1 inch. remember that the final goal is for the center to be flat to the chest if it is not then shorten or lengthen as needed.
I took a tight chest measurement right under the bust then took off 1 inch the reason for this is that the sides are elastic and I wanted a snug fit. I then cut a piece 13 inches long and sewed it with open fold facing up. The reason for this is so that I could insert the strap into the fold then sewed the fold shut. This prevents the end of the strap rubbing into the skin. It will have to be tried on to mark the straps I did not want a T-strap look but I hate having the shoulder strap fall down when it is too close to the side. If you are putting the clasp in back you would cut the ribbon in half then attach the cutoff clasps to the end. You are merely extending the sides.
You now have a comfortable bra with little expense. You can use any bra so long as the cups fit which opens a lot of possibility and means you can pick up the more common sizes like 40D when you really wear a 50D.
First step is to separate the bras from the front. Everybody is different the best way to determine size is to measure the space while either wearing a good bra or after cutting the bra hold the pieces up to your breasts fitting comfortably and then have some one measure at the top of the cup. You will need to decide at this point if you wan the clasps in front or back. For myself and my sister it is just easier to have it in front instead of playing contortionist. Then cut the clasps from the back just past seam where the clasps are sewed to the bra. You will have to do this whether you put clasps in back or front. Detach the back strap where it meets the bra remember since you are making the back bigger you will have to move the strap in. At this point the bra should like the one below.
I have found a lot of use for the satin bindings that are used for edging blankets in this case I used a nice beige.
In this case the cups fit best at 3 inches apart at the top. Remember that they must be wider apart at the bottom. If you make this center straight the clasps will unhook the first time you move your shoulders as I found out the first time I did this. I tacked it by hand first then used the zipper foot to sew close to the under-wire.
If you are putting the clasp in the back then cut the satin twice as long as you need then leave it folded in half and sew shut. Again remember the bottom needs to be wider then the top when you finish. A good rule of thumb would be an 1" to 1 1/2" inches difference. In this case I used an 1 inch. remember that the final goal is for the center to be flat to the chest if it is not then shorten or lengthen as needed.
I took a tight chest measurement right under the bust then took off 1 inch the reason for this is that the sides are elastic and I wanted a snug fit. I then cut a piece 13 inches long and sewed it with open fold facing up. The reason for this is so that I could insert the strap into the fold then sewed the fold shut. This prevents the end of the strap rubbing into the skin. It will have to be tried on to mark the straps I did not want a T-strap look but I hate having the shoulder strap fall down when it is too close to the side. If you are putting the clasp in back you would cut the ribbon in half then attach the cutoff clasps to the end. You are merely extending the sides.
You now have a comfortable bra with little expense. You can use any bra so long as the cups fit which opens a lot of possibility and means you can pick up the more common sizes like 40D when you really wear a 50D.
Thursday, April 25, 2013
dress to top preteen style
Inspired by some of the blogs we decided to hit some of the yard sales and my sister picked up a few items one of which was this dress. My niece loves little crop tops that she can wear over tanks and t-shirts so I detached the skirt which will be used in a different project and hemmed the top. In order to dress it up a little I applied rhinestones to the edge of one side.
It looks better with a faded red tank that she wore last time all in all I think it came out okay. Though her father when he saw it on the dress dummy wanted to know where the rest of the shirt was once we were done laughing it was pointed out she would not be wearing it alone. We need to find some more I am thinking they would make cute boleros as well
Wednesday, February 6, 2013
Necessity Blah Blah 2
You know they say that a stupid idea that works is not a stupid idea. I could not find the stand that holds the spool and needed to sew something that night. First I put the spool in a cup and after moving it around found that it worked but if the cup moved I had to reconfigure its placement again. Then I thought if only the bobbin winder were taller. Hmmm!!!
You have to use good straws not the cheap flimsy ones. I found these at HEB nice thick ones. I made a small cut then forced the straw down letting the little hook force the cut deeper so it would be secure. Took a couple of tries.
Wind the thread like normal and it works. The only time the straw came loose was when I was sewing a long piece really fast and that may be because my table shakes when that happens. Otherwise unless I knock it down when I am changing threads it works perfectly. Of course when I need to wind a bobbin I need to remove it. I never did find my spool holder. Oh well.
You have to use good straws not the cheap flimsy ones. I found these at HEB nice thick ones. I made a small cut then forced the straw down letting the little hook force the cut deeper so it would be secure. Took a couple of tries.
Wind the thread like normal and it works. The only time the straw came loose was when I was sewing a long piece really fast and that may be because my table shakes when that happens. Otherwise unless I knock it down when I am changing threads it works perfectly. Of course when I need to wind a bobbin I need to remove it. I never did find my spool holder. Oh well.
Subscribe to:
Posts (Atom)